
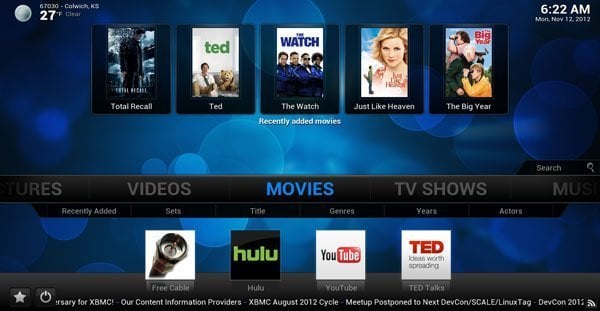
We have had XBMC 11.0 Eden for 8 months now and, if you are anything like me, it is time to begin the process of upgrading our XBMC installations to the new & improved XBMC 12.0 Frodo. The process should be fairly straight forward and essentially identical to the process we used for install the previous version of XBMC. Before we get started let’s clear the air on a few points so that we are all on the same page:
- This is a BETA release and as such may result in some unexpected behaviors.
- This is the 1’st BETA XBMC has released, there will be more to come.
- XBMC Frodo can cause a good time and may be habit forming.
- To install Frodo to Apple TV 1 you will need to:
– Visit OpenElec.tv regarding their 2.0 project
– Visit Stnlabs.comregarding their 2.0 project
How to install XBMC 12.0 Frodo (beta 1) APPLE TV 2 (Running iOS 5+)
- Jailbroken ATV2 running iOS 5+
- Mac Computer (use Terminal App)
- Windows PC (use PuTTY App)
Step 1: Launch the “Terminal” or “PuTTY” application.
Step 2: Ensure that your computer and your Apple TV are on the same network.
Step 3: Connect to your Apple TV via SSH using the following commands.
- ssh root@[Your Apple TV’s I.P. Address]
Example: ssh root@192.168.2.18
This can be found under General/Network on your ATV’s main menu
Note: Should you receive an “Authentication Error,” copy and paste the following command into the Terminal window and press Enter, then continue.
- rm ~/.ssh/known_hosts
Step 4: Agree to any Security Prompts by typing “yes” (without quotations), then press Enter.
Step 5: When prompted for a Password, type the word “alpine” (without quotations) then press Enter.
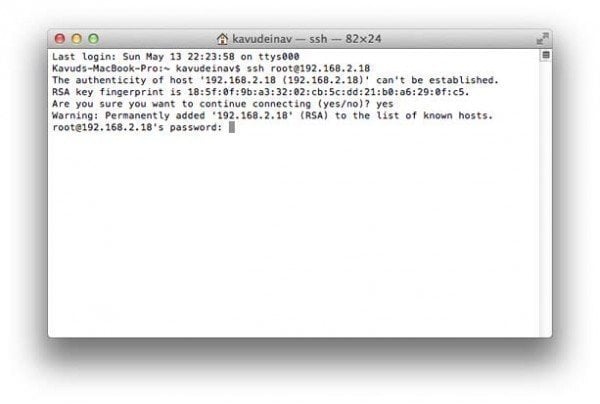 Step 6: Copy and Paste the Following Commands into your Terminal App, pressing the Enter key after each. It’s important that you wait for each one to finish before moving onto the next. Don’t worry… you will know when each line is finished.
1) apt-get install wget
2) wget -O- https://apt.awkwardtv.org/awkwardtv.pub | apt-key add –
3) echo “deb https://apt.awkwardtv.org/ stable main” > /etc/apt/sources.list.d/awkwardtv.list
4) echo “deb https://mirrors.xbmc.org/apt/atv2 ./” > /etc/apt/sources.list.d/xbmc.list
5) apt-get update
6) apt-get install org.xbmc.xbmc-atv2
7) reboot
Step 7: Once the Apple TV menu reloads, Launch XBMC into XBMC Frodo!
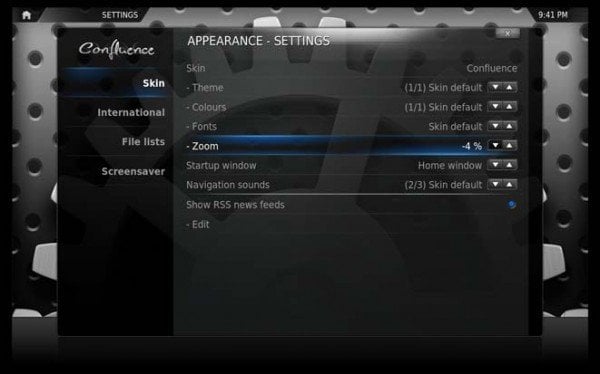
Step 8: To ensure the new build fits your screen, let’s enter the “Settings” sub menu under the “SYSTEM” heading.
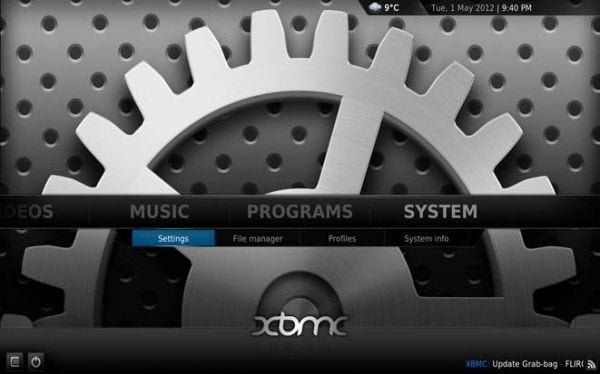
Step 9: Select the “Appearance” tab from the left menu bar.
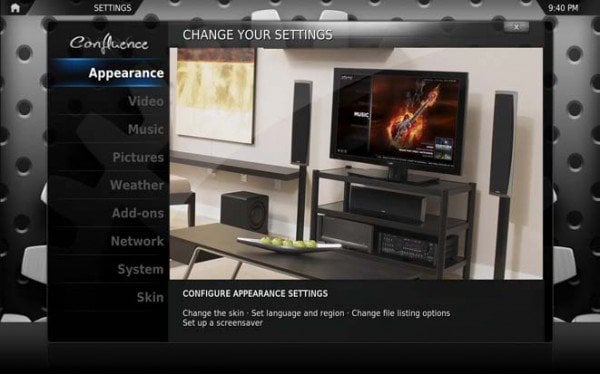
Step 10: Under the “Skin” menu, you’ll now want to choose “-4%” for the “Zoom” field so that your XBMC configuration will properly fit your television display. Depending on the television, you might have to play around with this, but it should work flawlessly at the “-4%” setting. Press “MENU” on your Remote Control to return back one level once this is done.
Congratulations! Your second generation Apple TV running iOS 5+ now has XBMC Frodo installed on it, and fitting on your screen. Now that wasn’t so bad… was it?
- More on FRODO from Apple TV Hacks : XBMC 12.0 Frodo (beta 1) released: One media center to rule them all!
- More on FRODO from XBMC.ORG
- Installation on other platforms.



Comments
Be The First to Comment