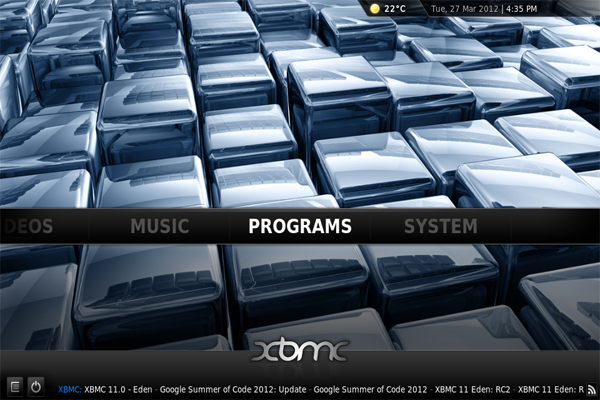
So you caved in and bought the new 1080p Apple TV 3 and were horrified to discover that you cannot jailbreak it yet. Perhaps you were fortunate enough to find your older Apple TV (1st or 2nd gen) sitting in a dark damp corner of your closet underneath your old PlayStation. Regardless of which device you are fortunate enough to have, you will need one simple skill in order to take full advantage of your XBMC experience.
XBMC comes with the unique ability to install extra tools within the confines of its system. This means that once XBMC is installed you can add new add-ons/plugins to your Apple TV in order to give it some new features such as streaming live television, streaming movies from external websites, Pandora, Sports Channels, and much more.
Installing, and using, XBMC add-ons and plugins is a very simple process that can sometimes intimidate newbies, or first time users. The good news is that, by the end of this post, you will be able to install, uninstall, and find any XBMC tools you want within the confines of your Apple TV (1 or 2). Before we begin, let’s go over what we need:
- Computer
- Add-On/Plugin Source
- Apple TV (1st or 2nd-generation)
XBMC does come with many add-ons/plugins preinstalled in its database for you to install and play with. If you would like to use these specific tools simply skip ahead to STEP #9. If, on the other hand, you would like to add specialized add-ons/plugins such as IceFilms, NaviX, SuperTV, FastPassTV, 1Channel, or even Watchseries you will need to follow these instructions from beginning to end.
The first step would be to find the add-ons you want to install. You can search XBMC’s forums for things like skins, movie scrapers, music add-ons, picture add-ons, and more. Once you find what you want… download the .zip file to your computer and remember file location you save it to.
The next step would be downloading an SSH client onto your computer. This tool will enable you to browse the Apple TV menu from your computer.
Once you install these tools, you will need to connect the SSH client to your Apple TV:
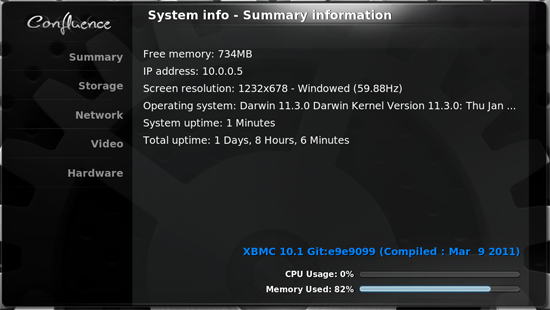
1. Open XBMC on your Apple TV and navigate from your Home Screen to Settings > System Information. You need to locate and take note of your system’s IP address:
2. You now need to open your SSH Client. You will likely be met with either an option to open a Connection, if so select this option, or a group of boxes requiring input. Fill out the boxes using following:
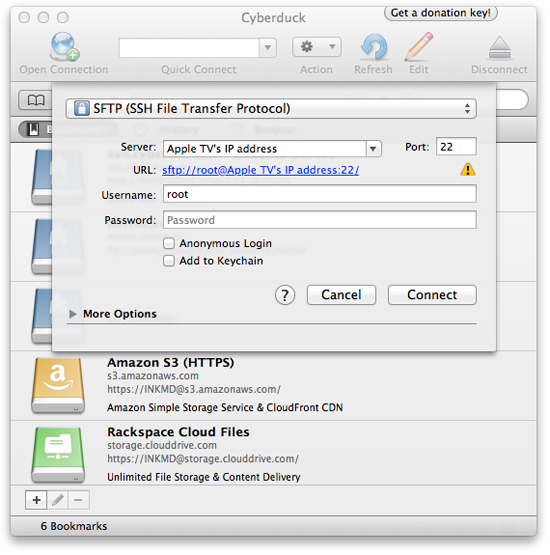
- At the top you will likely see a drop down menu that says “File Transfer Protocol.” Here you will need to select the option that says “SFTP” or “SSH”
- Server: Here you need to enter the IP address of your Apple TV that we located earlier.
- Username: root
- Password: alpine
3. Click on the “Connect” button and you will find yourself inside the File System of your Apple TV.
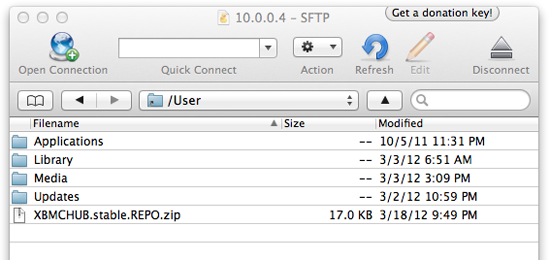
4. Next you will need to navigate to the location that XBMC associates as its Home Page. This location is found @ “/User”
5. Now we need to find the add-on that you download earlier in this tutorial. Once you have located the file, you will need to drag it from your computer into this file location as seen below. In this case I have copied XBMC’s repo from my desktop into the file location provided.
Now that we have copied all desired items from the computer into the ATV we are now ready to put down the computer and pick up the ATV remote. The rest of these steps take place inside of your XBMC installation:
Installing Add-ons & Plugins
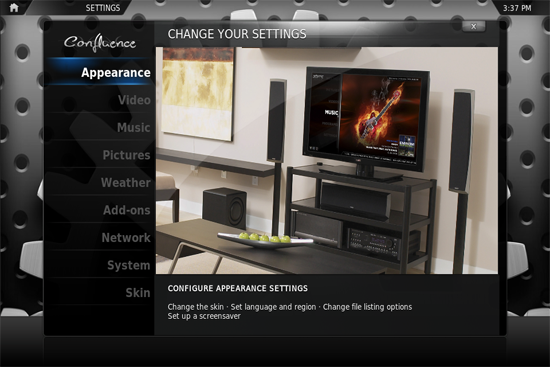
1. Open XBMC on your Apple TV and navigate from your Home Screen to the System Menu. From there you should see menu options similar to what is shown below.


Comments
Be The First to Comment