Holiday Gift Guide 2015: Best Accessories for Apple TV
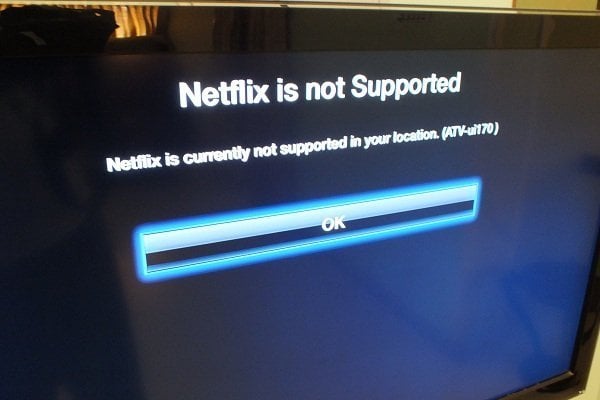
Netflix, Hulu Plus and other streaming services have revolutionized the way we consume video content, changing it from from the model where the cable operators show their own scheduled content to a VOD model where we ordering what we like, when we like. And having access to thousands of movies and TV shows at a fixed and reasonable monthly rate is every movie buff’s dream come true. But the major drawback is, of course, the unavailability of some of the main streaming services in all countries. Those outside the United States (Canada and UK too, for some services) will be fed by a “Your country is not yet supported” screen and many would be craving for a bypass method. So if you’re residing outside the US or are a travelling US citizen, read on.
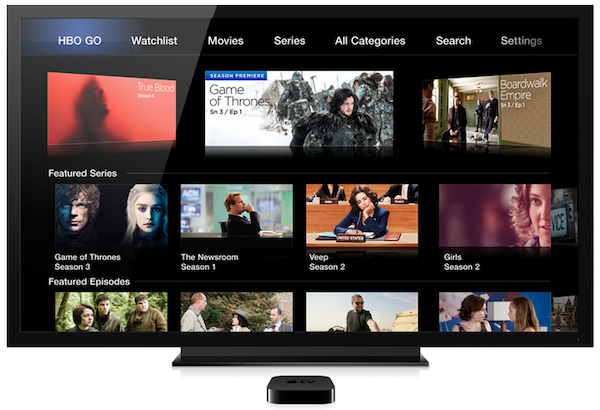
In this guide, I will show you how to stream Netflix, Hulu Plus, HBO Go and other US-exclusive channels on your Apple TV, in countries where it is not supported officially.
(Note: HBO GO requires an HBO subscription available through participating US TV providers; by following this guide travelling US citizens can get HBO GO working abroad.)
PREREQUISITES
- An Apple TV, of course: the below methods support all three generations of Apple TV
- A PayPal account (recommended); or any other internationally accepted payment service; or an US-based credit card. If you don’t have any of these, you cannot proceed.
Step 1 – Setup a Virtual Credit Card
Those with US addressed credit cards can skip to Step 2.
Others need to sign up at Entropay and apply for a Virtual Credit Card. Amex, BankFreedom, ICICI and Kotak also provides similar services but Entropay is the most popular, and probably the best one.
You can transfer an amount to your VCC via PayPal and it will act as your US based credit card. Don’t worry, it is legal and safe.
Step 2 – Setup an US iTunes account
If you already have one, skip to Step 3.
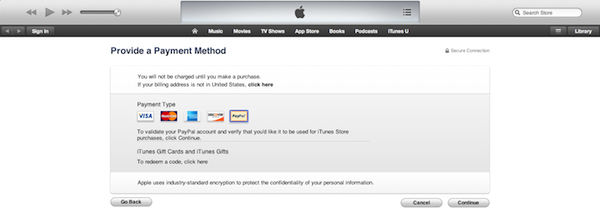
This isn’t much of a trouble once you have the VCC or PayPal. Select ‘Create a new account’ on iTunes and set your country as United States. Fill up the fields with a US address (doesn’t have to be real) and use a valid US post code (find one here).
For payment details, you can enter the Entropay VCC details or use PayPal directly (latter is reported to be not working for some users). That’s all, your US account is up and running.
Step 3 – Signing in to Apple TV
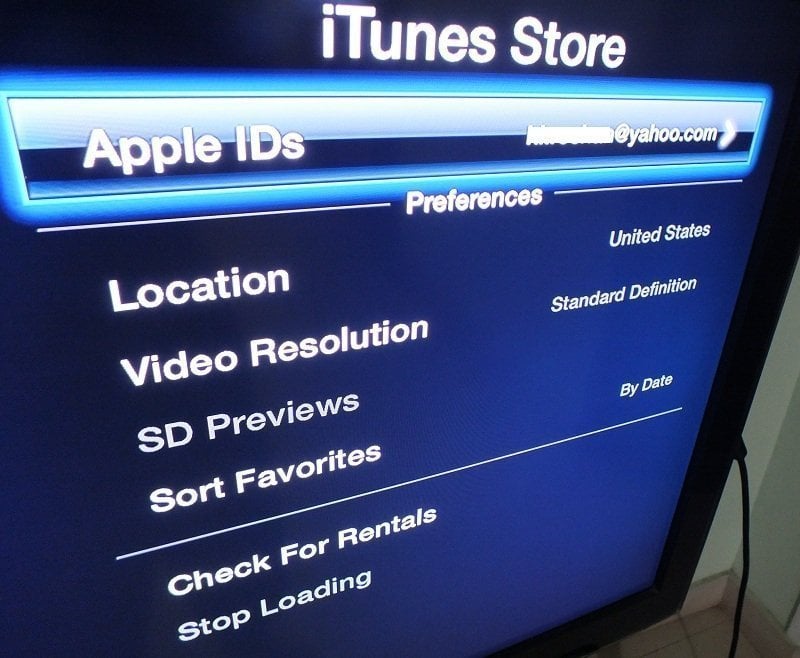
On your Apple TV, make sure that you’re logged in with the above US iTunes account. In the Settings, change the region to United States, if it isn’t showing that already.
Step 4 – The tricky part
Now, we are going to make the Apple TV believe that it is indeed located in the US. And for this, I’m describing three methods, their merits and disadvantages. I will be giving you my final take on the methods but will leave the final choice to you.
I. VPN METHODS
VPN or Virtual Private Network simply put, is a service which helps us to connect via someone else’s internet connection, securely and miles away from it. It is mostly used by corporations and companies to share confidential files within one or more offices around the world.
Here, we’re going to sign up for a VPN service based in USA so that we can connect via it and force a US digital location.
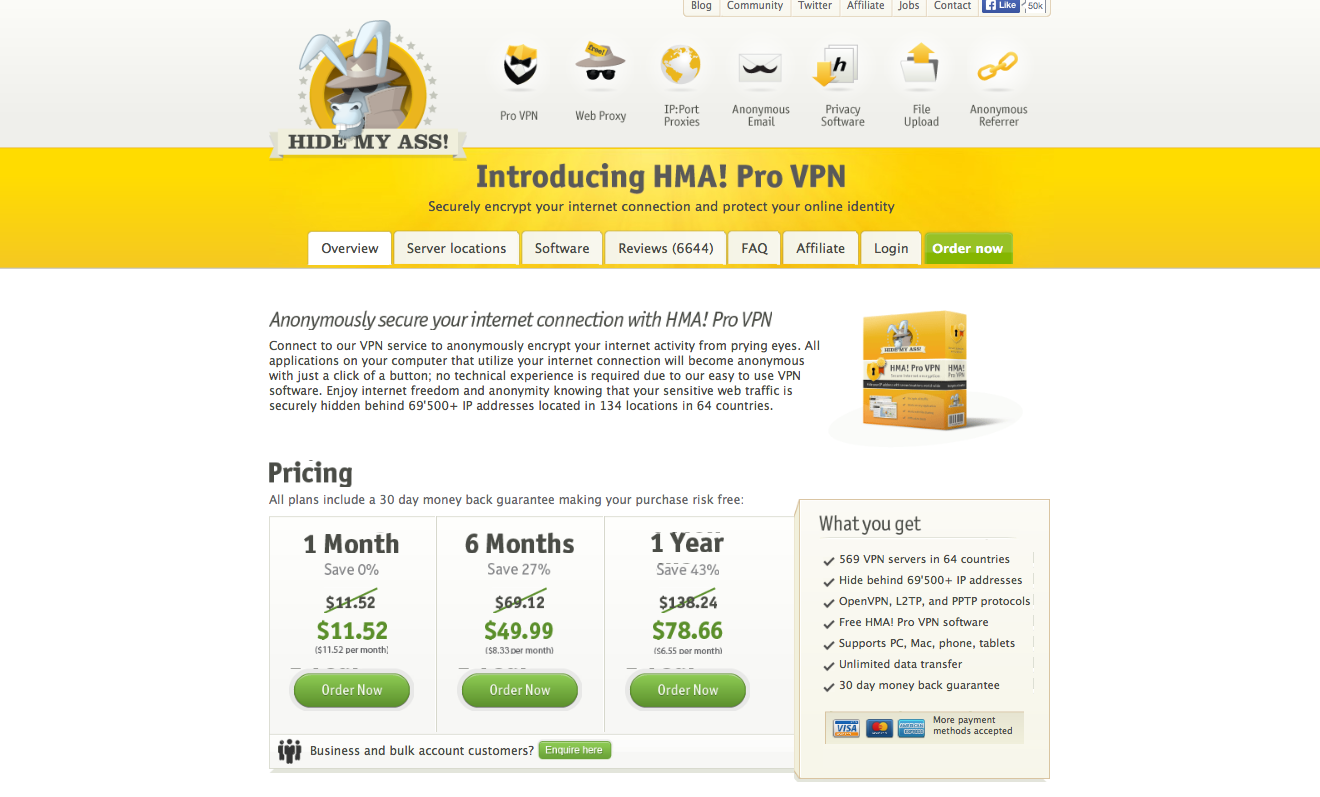
Though there are many such VPN providers, we’re going to use HideMyAss, which is the most popular one. You can browse through the alternatives here.
- Method A – via VPN router
This method will require you to have a VPN Router or VPN supported modem to make the magic happen. Lets see how it’s done.
1. If you already have a VPN router, you can contact the HMA team to know if it’s compatible. Else if you are willing to buy a new one, they’ll recommend one for you too. By the way, these are the routers commonly recommended by HideMyAss.
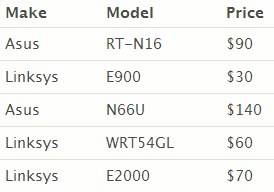
You can find more VPN routers here.
2. Once you’re sure that your VPN router will work, you can proceed to get a subscription on HideMyAss. It costs $7-$12 per month based on which bulk pricing plan you choose. Non-US card holders can use PayPal for this and even setup a recurring plan.
3. Setting up the router. This step is highly variant depending upon the client you choose and the router you own.
Basically, you’ve to enter into your Router dashboard, click on VPN Setup and fill in the fields with VPN settings and HMA credentials.
Don’t worry, once you sign up at HMA, you’ll have access to an elaborate, comprehensive and step-by-step guide on doing this, based on which modem you own. They even have an Automatic Installer for the same.
4. Once this is done, Apple servers will fetch your location as United States. You’ll be able to open and use all the apps on your home screen.
Overview
Things you’ll need: a VPN Router, HideMyAss subscription.
Total cost: $50 – $100 (one time) for the router + around $10 per month for HMA + channel subscription fees (i.e. $7.99 per month for Netflix)
Pros
- Once setup, any device connecting to your Wi-Fi network will be deemed as US device and hence can be used with any number of devices without further tweaks.
- It gives the most comfortable and flexible experience, once setup.
Cons
- The most expensive method.
- A bit difficult to setup, especially if you’re not well versed with the basics.
- It is complained to be a bit slow, but personally I din’t feel any lags.
- Method B – VPN via your PC/Mac
As you might’ve noticed, buying a VPN router just for this purpose could be a burden for many. So we’re going to eliminate that and use our household computer or laptop as a VPN router. Here, we’re actually connecting our ‘computer‘ to the VPN of HideMyAss and then making it a wired hotspot (network sharing) for the Apple TV.
1. Open a HMA Pro account.
2. Use your PC/Mac to login to your account and download the corresponding client to your computer.
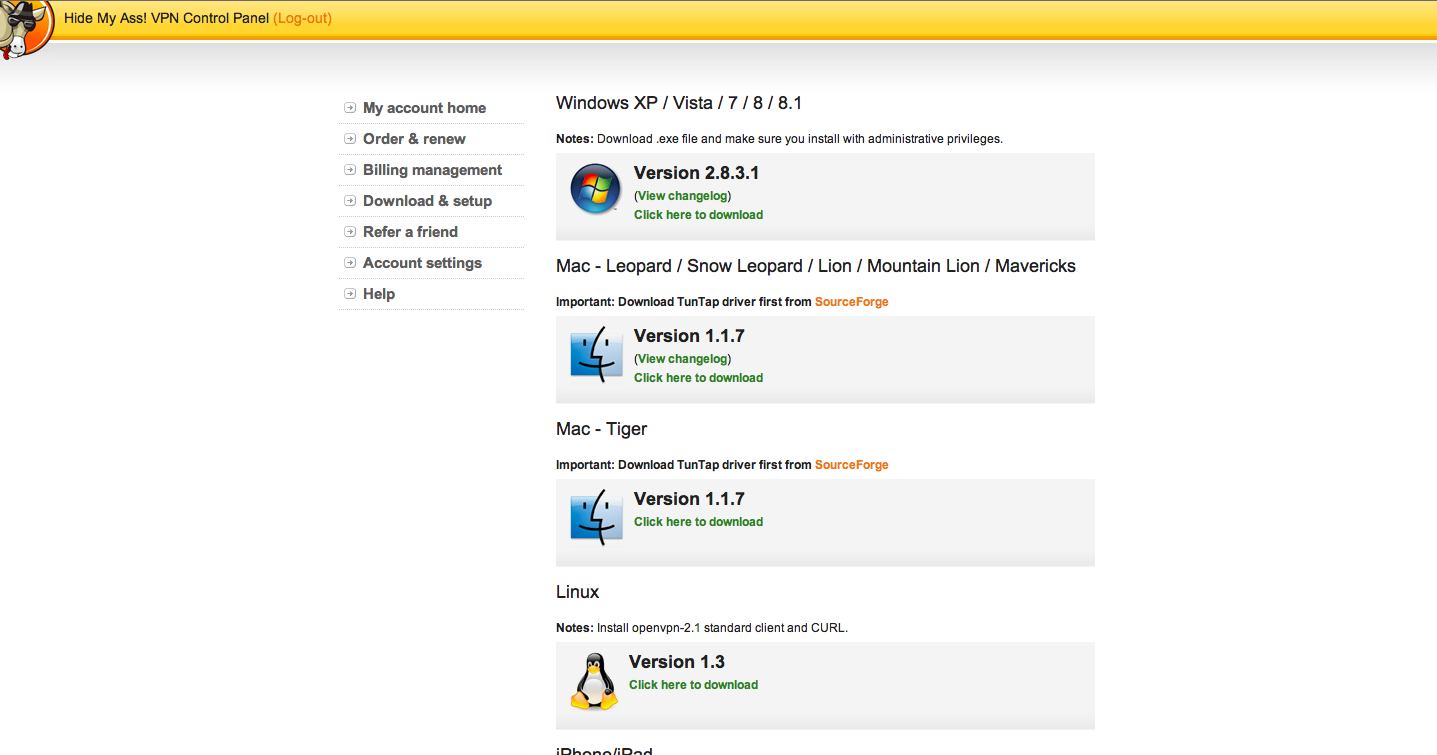
3. Open the client software and log in with your HMA credentials.
4. Now, choose an American location from the drop down list and start the VPN server.
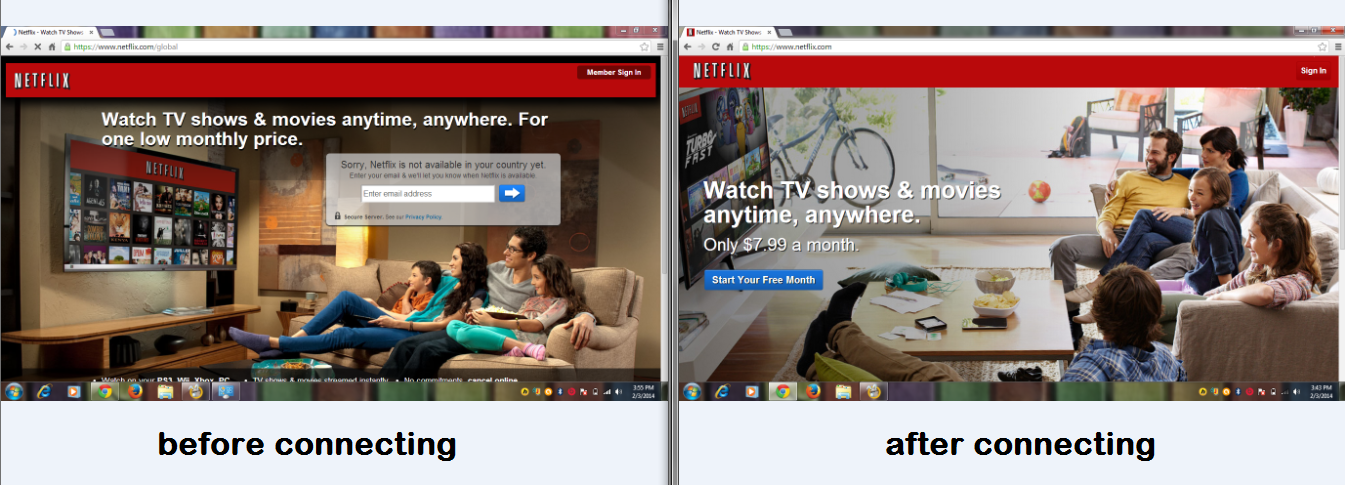
5. In order to confirm that the service in working, just open your browser and goto Netflix.com. Without VPN, this will be blocked, but now it should bring up a Getting Started page. If this happens, you’re doing great.
6. All the steps till now were similar on both PC and Mac. However, in this step, you’ve to setup network sharing on your computer, which is a little different in each:
On a PC – Windows 7
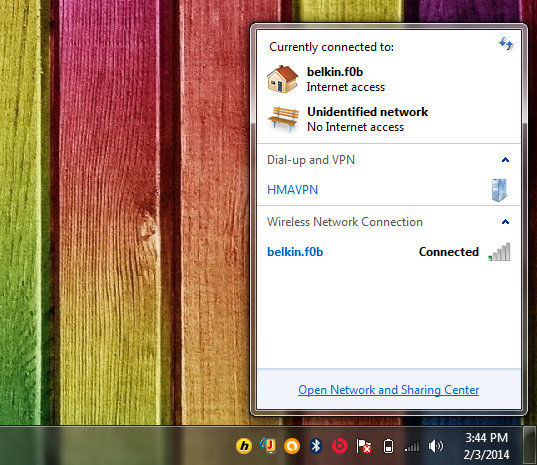
– Click on WiFi/Network icon on the right side of bottom toolbar. Take “Open network and Sharing center”
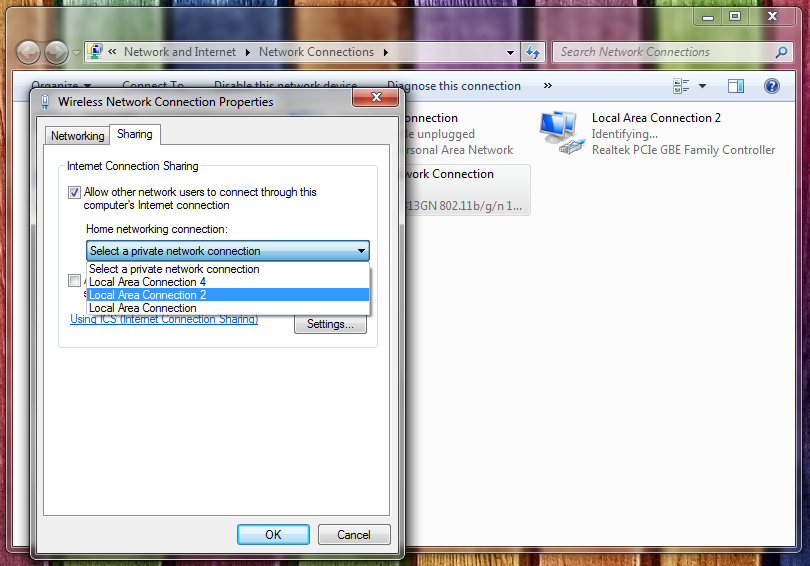
– Open Network and Sharing Center > Change Adapter Settings (left sidebar) > Right Click on your connection > Properties
– Take the Sharing tab > Check “Allow other network users to connect through this computer’s internet connection” > Select your Connection > OK. Network Sharing is now setup.
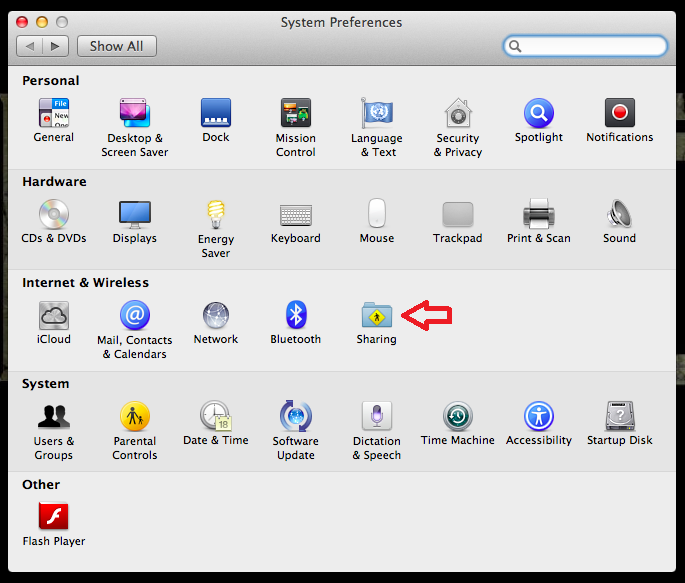
– System Preferences > Sharing (under Internet and Wireless)
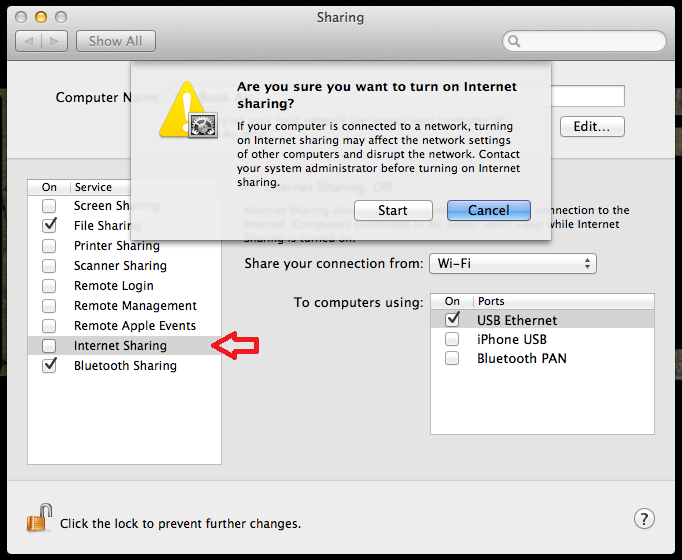
– Check mark “Internet Sharing” > Select USB Ethernet > Start
7. Now, you can connect your Apple TV to your laptop (PC or Mac) via your Ethernet cable. In case you have a Macbook Air or any device without an in-built Ethernet port, you might need to purchase an Ethernet adapter.
8. Make sure in Settings > General > Network that you’re connected via Ethernet and not via any WiFi available.
9. Done! Apple servers will now fetch your location as US. You’ll be able to open and use all the apps from the Apple TV home screen.
Overview
Things you’ll need: subscription to HMA Pro, a laptop with Ethernet port, Ethernet cable, Ethernet adapter (optional)
Total cost: $10 per month (HMA subscription) + channel subscription fees
Pros
- Can be turned off easily with a click, which none of the other methods can do.
Cons
- Well, … it’s a dumb method. You’ll always need to have your laptop connected to your Apple TV to stream. If so, you could very well connect a HDMI cable from your laptop directly to TV and eliminate the need of an Apple TV. Also, due the large number of cables, devices and services invloved, the clarity and load speeds will be low.
II. DNS METHOD
Domain Name System (DNS) is a hierarchically arranged list of IP addresses and these IP addresses in turn, determine our locations. In this method, we’ll use a DNS service to connect to a foreign DNS server and update our IP, so that our digital location also gets changed. Much easier than it sounds!
1. Get a DNS service: Unotelly is unequivocally the best and cheapest out there with plans of under-5-bucks/month (for VPN and DNS together). HidemyAss also provides DNS services and UnblockUS is another one.
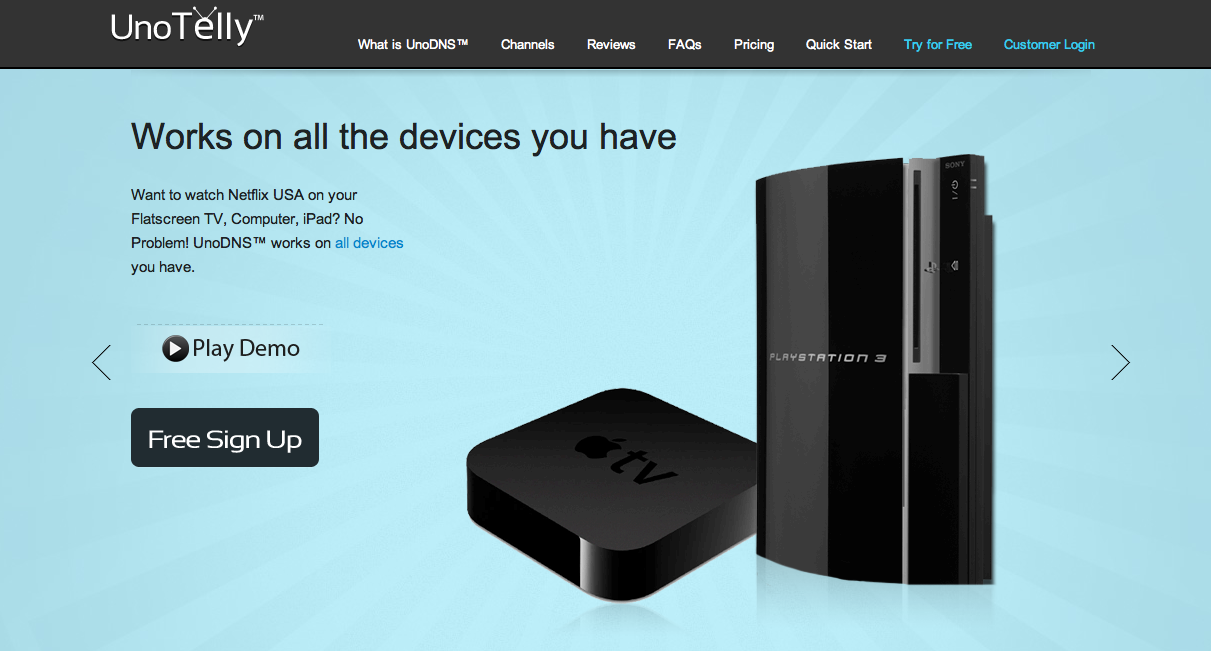
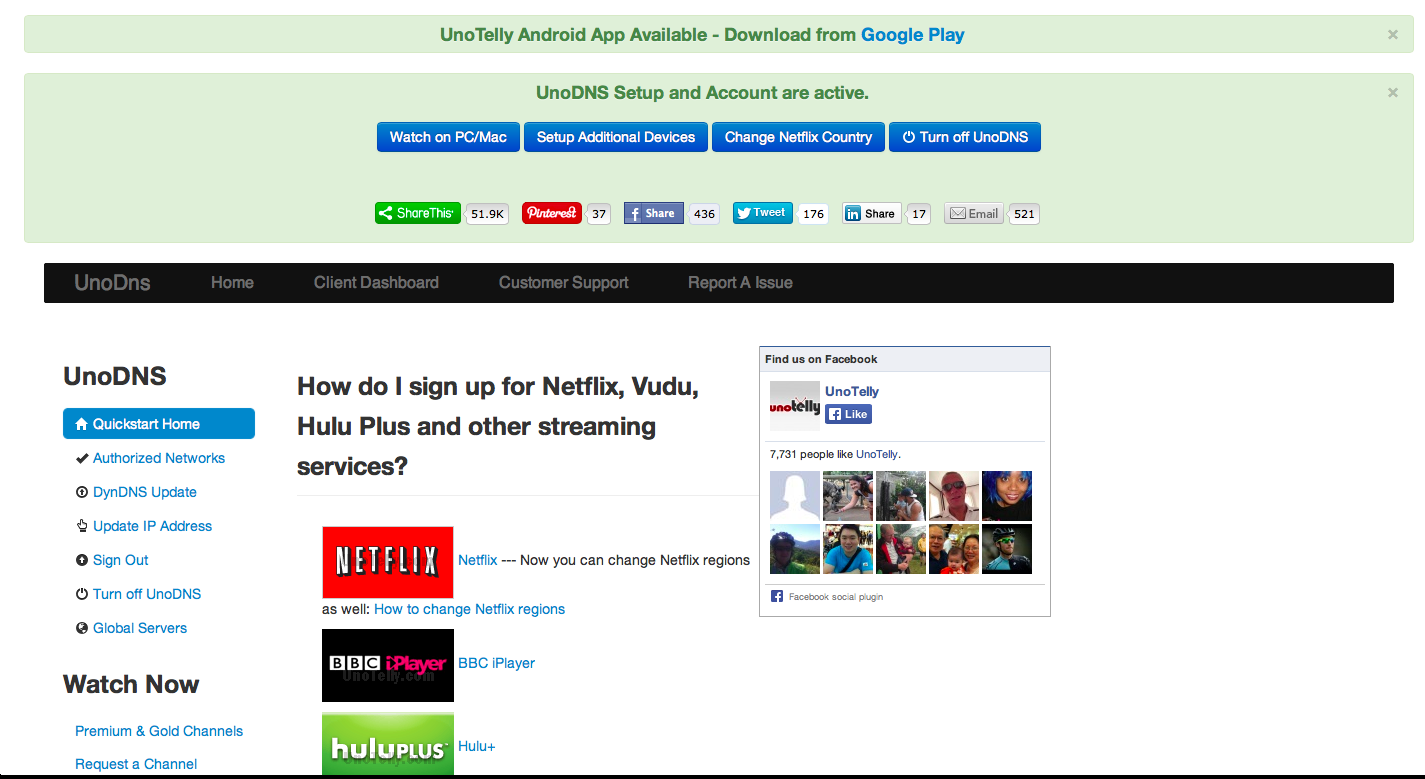
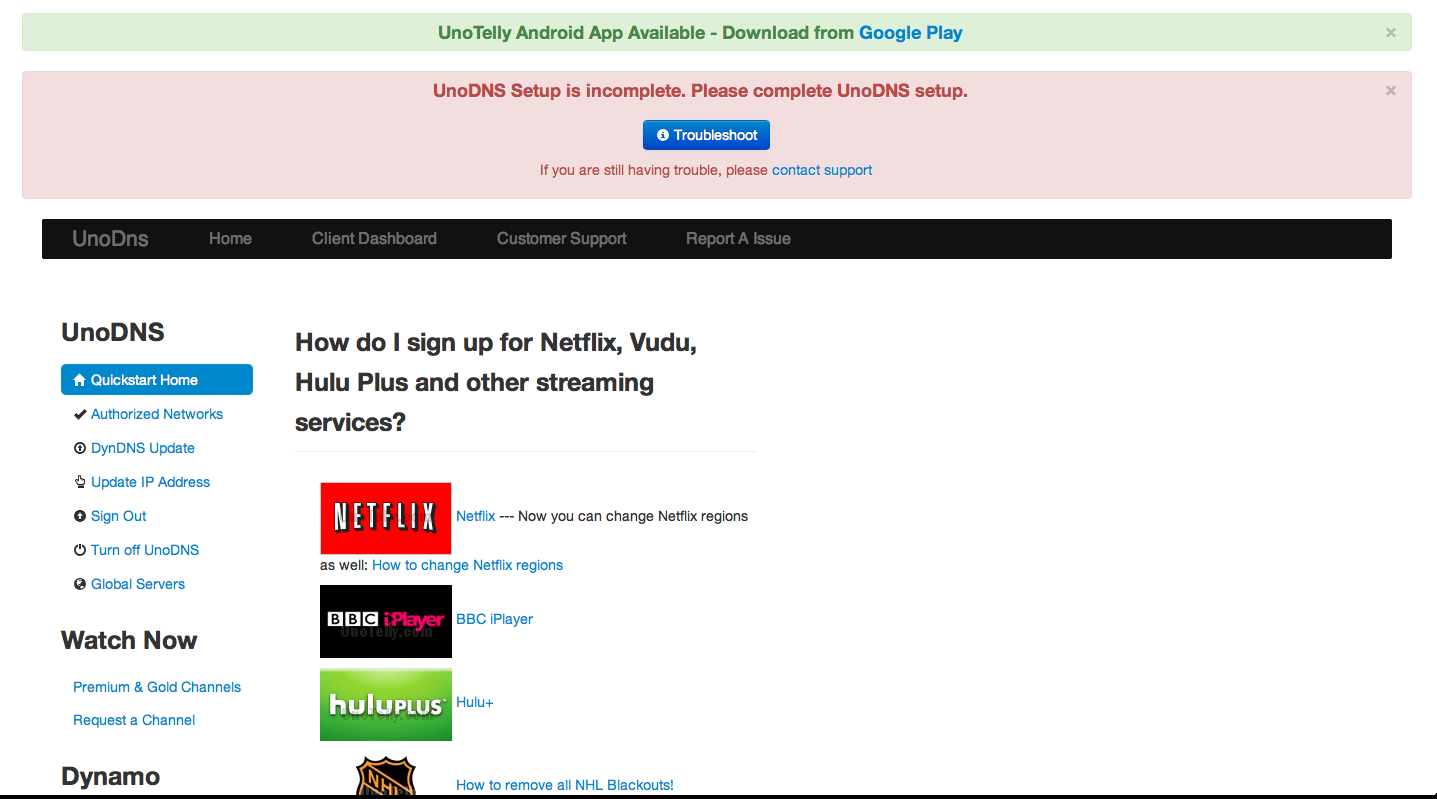
2. Once that is done, login to your account and you’ll see a screen like this.
3. As you can see, the setup is still incomplete. To complete, you’ll have to change your DNS settings and update your IP. We’re going to use our PC or Mac to do this. This is an one-time step, don’t worry.
On a PC (Windows 7)
– Click on Wifi/Network icon on the right side of bottom toolbar. Take “Open network and Sharing center”
– Open Network and Sharing Center > Change Adapter Settings > Right Click on your connection > Properties
– Under “Network” tab > Double click “Internet Protocol Version 4 (TCP/IPv4)” > Change the option from “Obtain DNS server address automatically” to “Use the following DNS server addresses”
– Goto this link and find two servers closest to your location. Update the DNS server address on your PC with these.
On a Mac
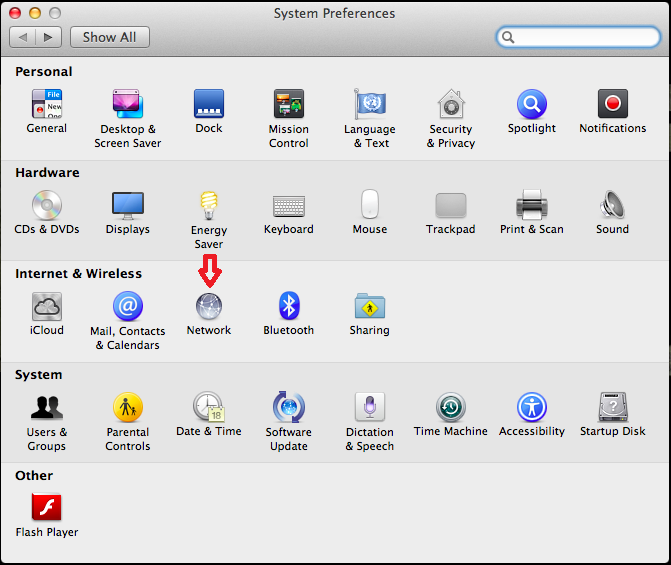
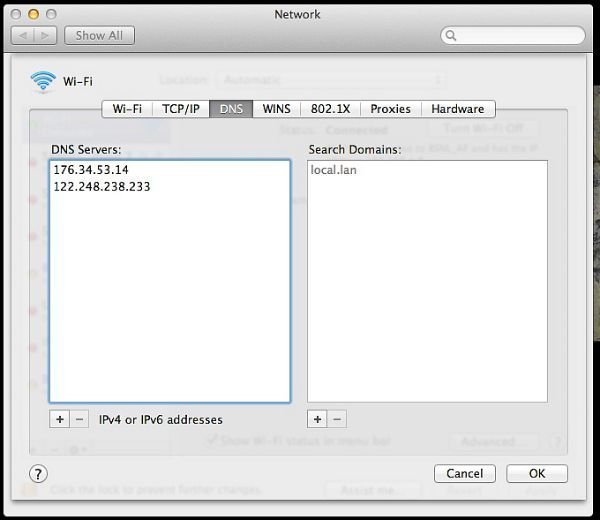
– System Preferences >Network (under Internet and Wireless)
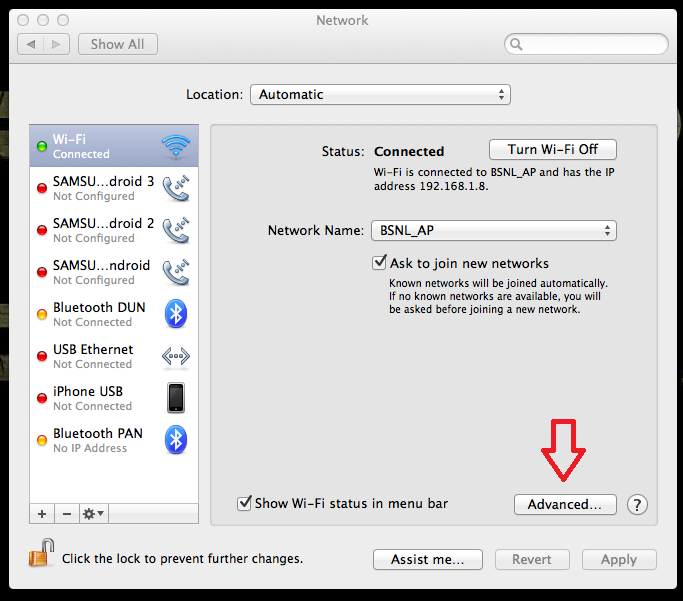
– Select Advanced > DNS tab
– Goto this link and find two servers closest to your location. Update the DNS server address on your Mac with these.
4. Now go back to your Unotelly account and click on ‘Update IP Address’ from the left sidebar. You’ll see a message on top that UnoDNs is active.
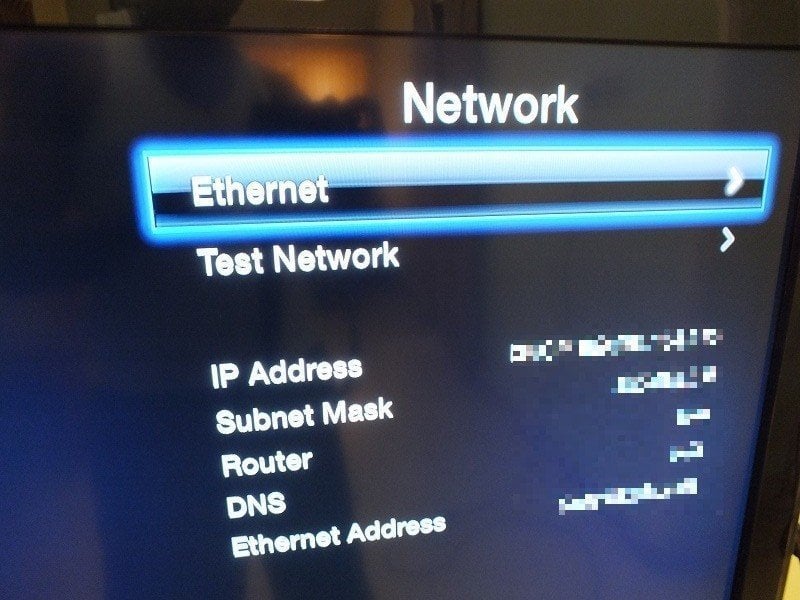
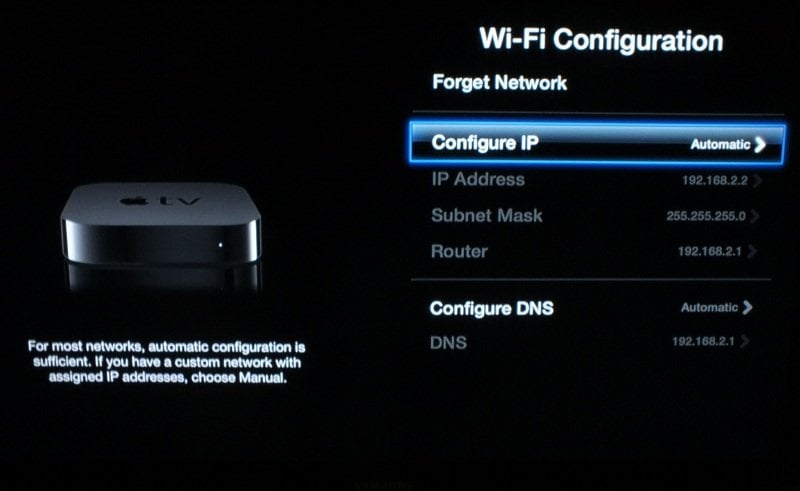
4. Now switch on your Apple TV. Goto Settings > General > Network > Wi-Fi > Select your connection. You’ll see this.
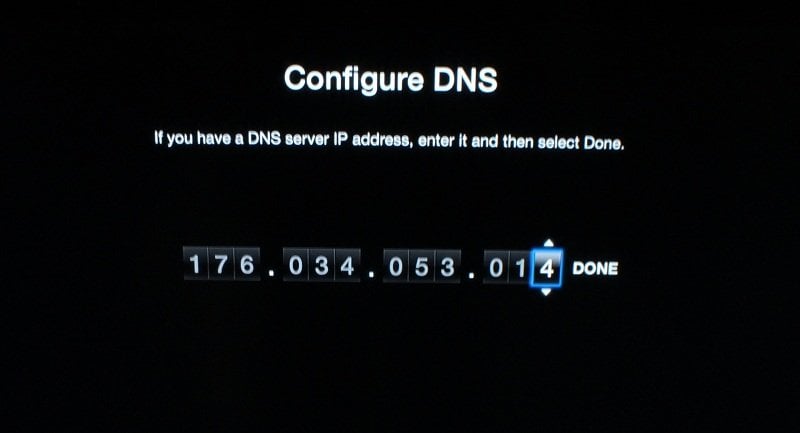
5. Navigate down and select Configure DNS > Manual
Go to this link and find a server closest to your location and update the DNS settings accordingly. Click Done!
6. That’s it. Apple servers will fetch your location as US.
Overview
Things you’ll need: Unotelly subscription, a PC or Mac (for one time)
Total cost: $5 per month (Unotelly) + channel subscription fees
Pros
- Easiest setup,
- cheapest service
- very stable connection
Cons
- If you have other devices, separate setup is needed for each, unlike VPN Router method which is an universal setup
Step 5 – Setting up Netflix, Hulu Plus or other services
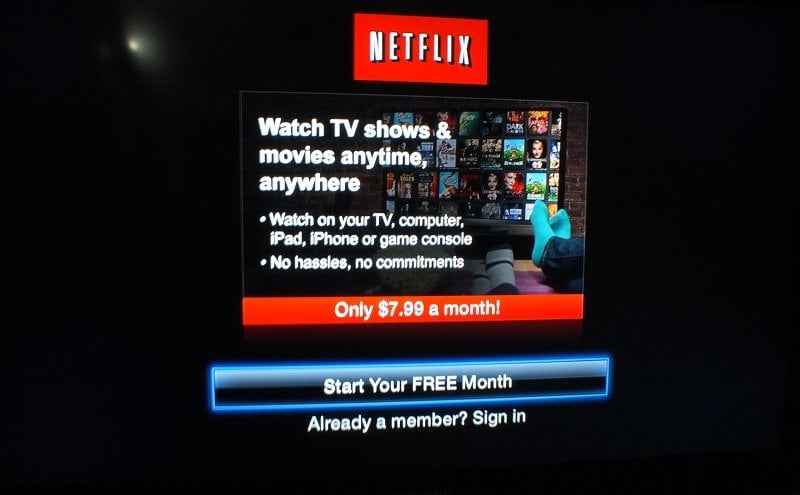
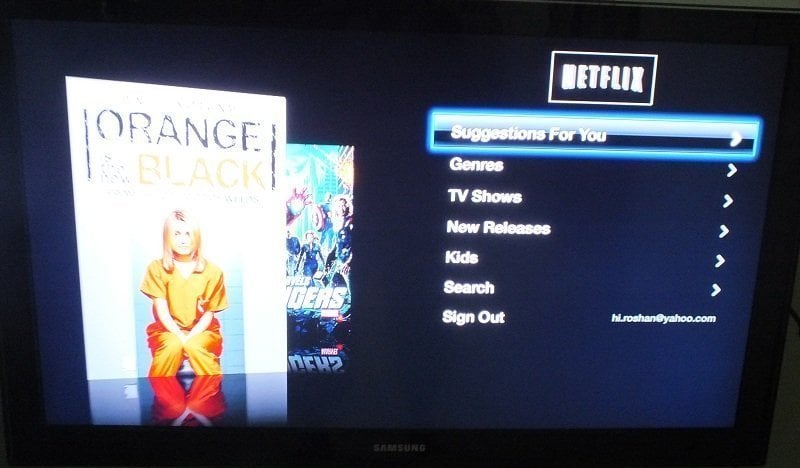
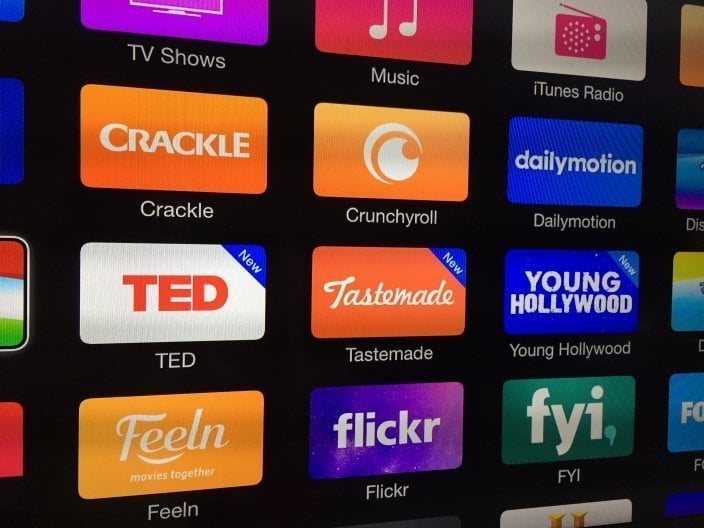
Once the digital location and IP problem is solved (Step 4), you can use your Apple TV just like if you were in the US. The first time you launch Netflix or Hulu Plus, you’ll need to create an account and subscribe for a recurring plan via iTunes. Alternately, you can setup the Netflix account on another device using Entropay and just login here. Now, you can start streaming movies and TV shows (starting with the free first month on Netflix!). Any other US-only channels can also be setup similarly.
WRAP UP
Method A is the most elegant way, but pricey and needs a techy to be setup. It should be preferred if you already have a VPN router and you know exactly what you’re doing. It is also suitable for hotels, restaurants, tourist inns, etc., where individual setup of each device is not feasible. But VPN is notorious for being slow and if you’re one of the affected, the purchases would be a waste.
Method B is to be avoided at all costs. It is mentioned only for the sake of completion.
Method C is best of both worlds with a low tag and easy setup with good results. Personally, I have been using Unotelly for quite some time now and they work surprisingly well at a very reasonable price. Surely recommended for all home users!
Though the tutorial looks a bit lengthy, it consists of fairly simple processes and describes three separate methods. Once you know which method to follow, it takes only about half to one hour to setup. Once done, you can enjoy all US content forever without much additional maintenance processes. It is surely worth it!
Please do try this at home and let us know your results.
(This article is also available in Spanish/Este artículo también está disponible en Español)
Holiday Gift Guide 2015: Best Accessories for Apple TV
Be sure to follow Apple TV Hacks on Facebook, Twitter and Google+ for all the latest Apple TV-related news.






Comments
Be The First to Comment